Based on my experience, wiring a light bulb socket to the ceiling is a simple process that requires a few basic tools and electrical knowledge.
Step 1: Turn off the power
Before beginning any electrical work, it is important to turn off the power to the circuit you will be working on. Locate the circuit breaker in your electrical panel that controls the power to the room where you will be working and turn it off.
Step 2: Gather tools and materials
You will need a few basic tools and materials to hardwire a light bulb socket to the ceiling. These include:
Wire stripper
Screwdriver
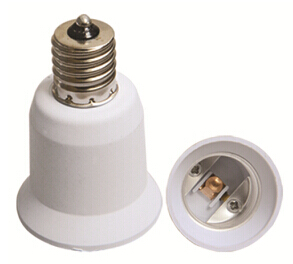
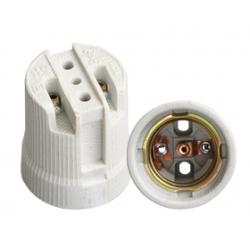
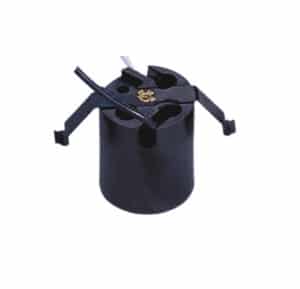
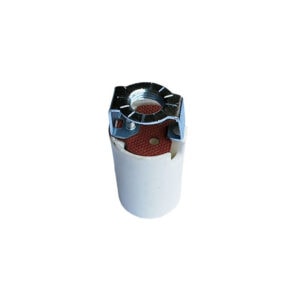
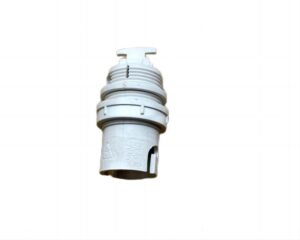
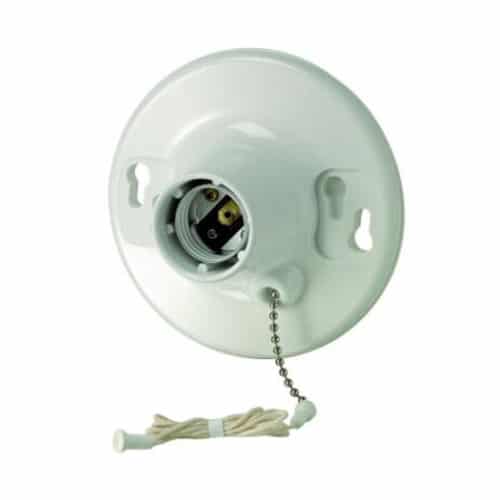
Light bulb socket
Electrical box
Electrical wire
Wire nuts
Electrical tape
Step 3: Install the electrical box
The electrical box serves as a housing for the wires and the light bulb socket. Choose a location on the ceiling where you want to install the light and mark the spot. Use a screwdriver to attach the electrical box to the ceiling, making sure it is securely fastened.
Step 4: Strip the wires
Strip the insulation from the ends of the electrical wires using a wire stripper. Make sure to strip enough of the insulation so that you have enough wire to connect to the light bulb socket and the electrical box.
Step 5: Connect the wires to the socket
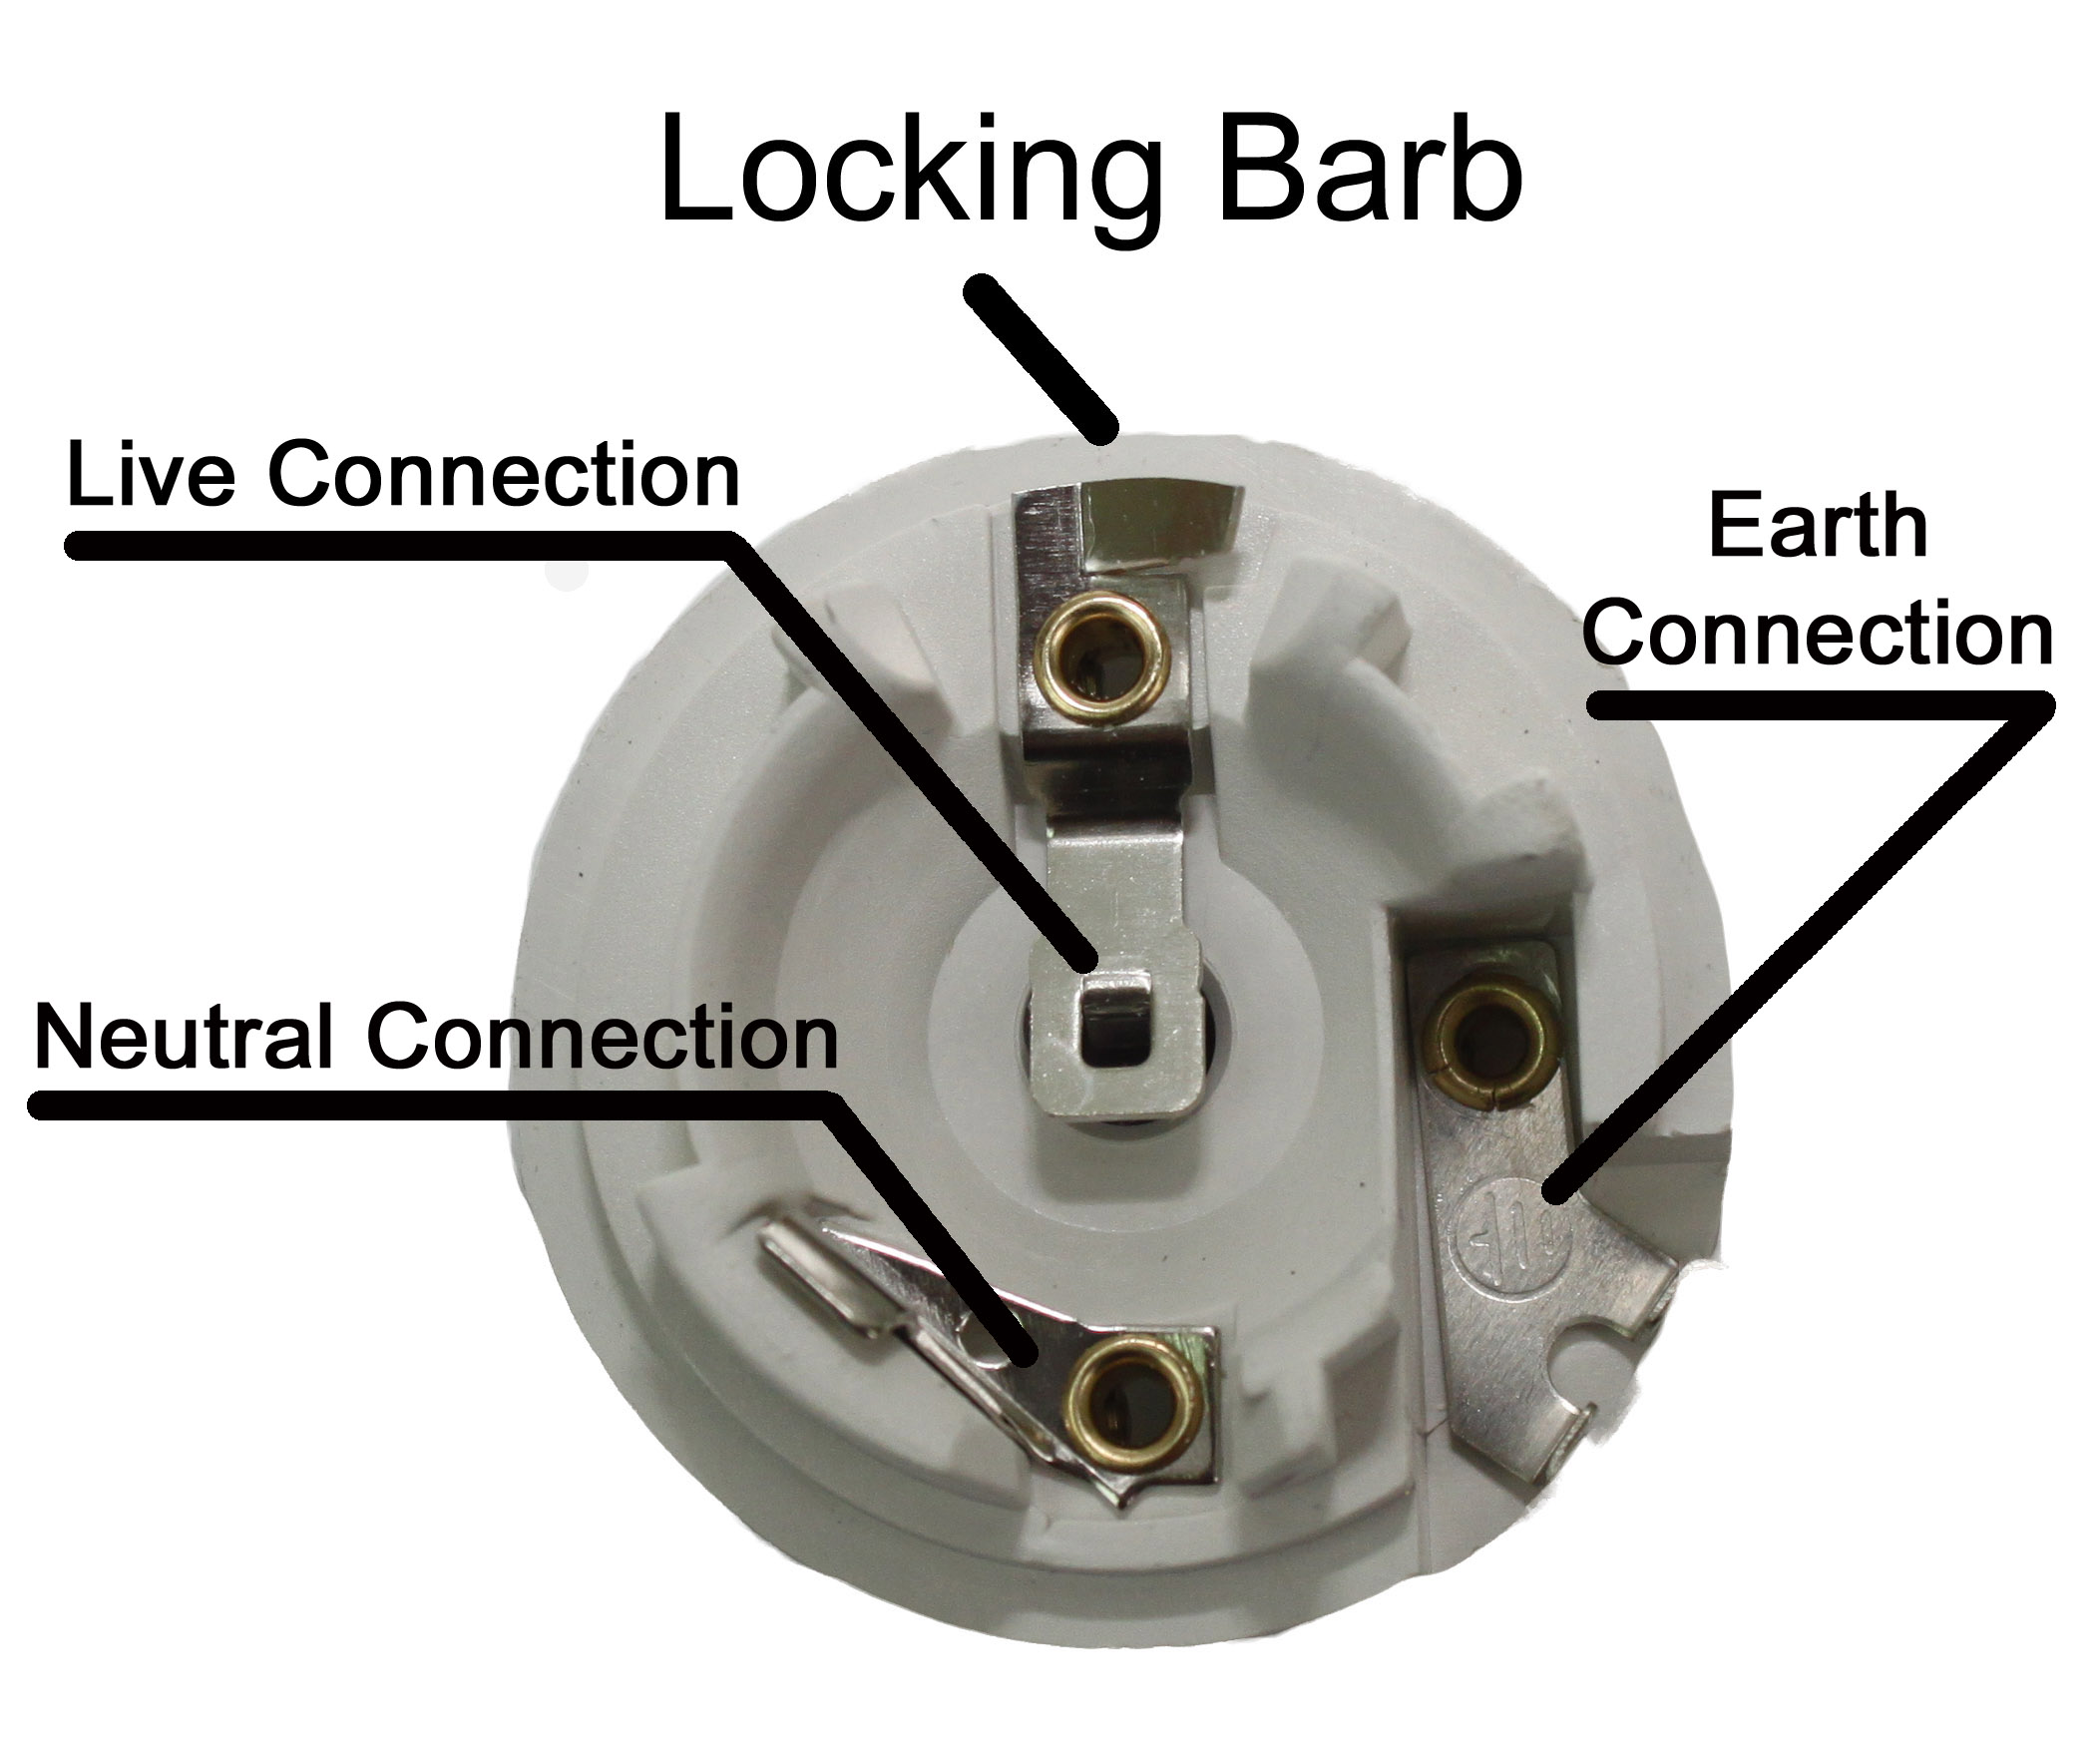
Attach the wires to the light bulb socket. The socket should have two screws on the bottom where you can attach the wires. Connect the black wire to the brass screw and the white wire to the silver screw. Make sure the wires are tightly secured to the screws.
Step 6: Connect the wires to the electrical box
Using wire nuts, connect the wires to the wires in the electrical box. Connect the black wire to the black wire, the white wire to the white wire, and the green or bare wire to the ground wire in the box. Make sure the wire nuts are securely fastened and there are no exposed wires.
Step 7: Attach the socket to the electrical box
Attach the light bulb socket to the electrical box using screws. Make sure the socket is securely attached to the box.
Step 8: Test the light
Turn the power back on to the circuit and test the light to make sure it is working properly. If it does not turn on, turn off the power and double-check your wiring connections.
In conclusion, hard wiring a light bulb socket to the ceiling is a simple process that requires basic electrical knowledge and a few tools. By following these step-by-step instructions, you can safely and easily install a light fixture in your home.
I’ve got a camping swag form pendant light fixture which I like to tough cable in to your ceiling. I cut the plug off in the light fixture cord and ” cable ” it straight to the neutral and hot cables within the ceiling fixture recess. I ensured the neutral and hot wires went towards the relevant terminals inside of the lamp holder.
There is a floor cable inside of the ceiling recess, I haven’t touched this as my wiring won’t possess ground and I’m not sure how to deal with this. Anyway, while I switch the light on nothing at all transpires. I can examine the pretty sizzling wire is energized as my dwell wire detector beeps when it is close to it. It beeps each way down towards the light fixture socket.
Remarks: You’ll want to mention if you first wired this up, I had dwell and neutral corrected inside of the lamp holder and got a short whilst I switched it on. I will not believe the fuse is blown since I get energy and I changed the bulb to make sure the lamp was not blown either.
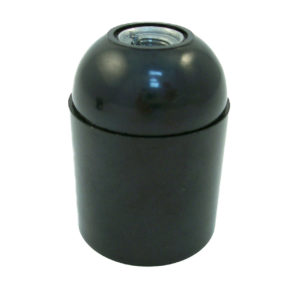
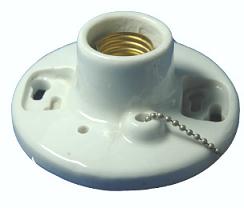
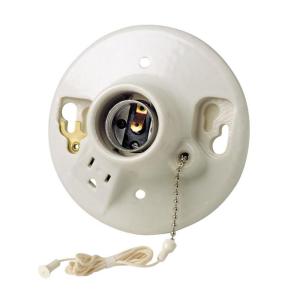
Our ceiling lamp holder family includes lamp holders made of high-temperature thermoplastic or high-strength insulator porcelain (pull chain or keyless configurations) with or without extra 2-pole,2-wire or 2-pole, 3-wire outlets.
The very first thing to try and do is test the lamp holder itself. The easy way to try this is often to apply a multi-meter set to AC and a proper voltage setting to your provided voltage. Utilizing the check prospects, touch the bottom pin as well as the metal in the base exterior (the aspect the bulb screws into). It should read through your supply voltage.
If it doesn’t then there is certainly a problem with the lamp socket itself. If it reads the right voltage, both your bulbs are terrible or they are not contacting using the socket. Together with the flip off, take advantage of a screw driver to gently lift the bottom pin up a little and then attempt your bulb again.